Wood Carving Relief Patterns: Designs by Difficulty and How to Use Them
Published
As an Amazon Associate we earn from qualifying purchases. This does not change our picks. Affiliate disclosure
New to Prime? Try Prime free for fast, free shipping on eligible items.
Gear for this job
All 6 picks comparedFlexcut FR405 deluxe palm gouge set, 9 tools
See price on AmazonSee it on AmazonFlexcut FR310 beginners palm set, 5 tools
See price on AmazonSee it on AmazonUJ Ramelson palm set for fine detail, 5 tools
See price on AmazonSee it on Amazon
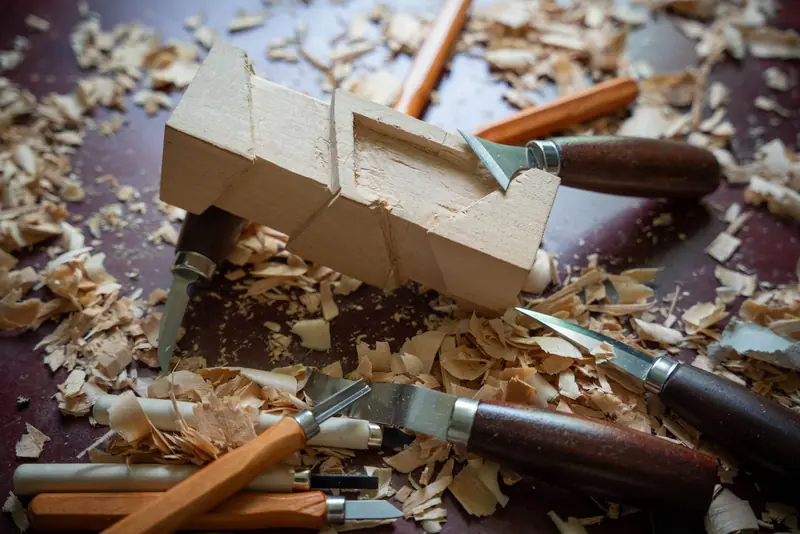
A good wood carving relief pattern has a clear outline, a small number of overlapping layers and shapes large enough for your gouges, which is why a single leaf, a monogram or an oak leaf with acorns are the usual first designs. Below are ten relief pattern ideas ranked by difficulty, what to look for when choosing or drawing a pattern, the board size and depth to plan, how to transfer the design to wood and the order of cuts that turns a line drawing into a carving.
What makes a relief pattern easy or hard
Relief carving is carving a design that stands up from a lowered background. The difficulty of a pattern depends on four things. Outline: a few long, smooth curves are easier than many small notches and points. Layers: each place where one element passes behind another (a leaf over a stem, a wing over a body) needs its own depth level, and more layers mean more planning. Size: shapes narrower than your smallest gouge are hard to model, so tiny details belong in later projects. Background: small enclosed gaps between elements are the slowest part to clean out.
A practical first pattern has one to three layers, no enclosed background spaces smaller than about 1/2 inch across, and a main shape that fills most of the board. Line drawings meant for coloring or stained glass often work as relief patterns once you decide which parts sit high and which sit low.
10 relief carving pattern ideas, easiest first
1. Single leaf (maple, oak or sycamore): one layer, a raised midrib and veins cut with a V-tool. 2. Initial or monogram: one letter in a bold serif or script face, raised or incised. 3. Heart, star or simple geometric border: practice for clean background removal. 4. Oak leaves and acorns: two or three layers where acorns sit over leaves, a classic first overlap.
5. Fish: a simple trout or bass in side view, with fins as a second layer and scales textured or left smooth. 6. Bird on a branch: the branch behind the bird, wings over the body, more modeling of rounded forms. 7. House or name sign: lettering with a border and a small motif such as a pine tree or a sun.
8. Rose or flower cluster: many overlapping petals, a good test of depth planning. 9. Animal head, such as a deer, wolf or horse: a face in relief needs the same proportions as carving in the round, flattened. 10. Landscape: mountains, trees and a cabin in several depth layers, with the far distance carved lowest. Landscapes are popular but hard, because perspective has to be suggested with only fractions of an inch of depth.
Board size, wood and carving depth
Basswood is the usual relief wood: it is soft, even and holds crisp edges. Butternut and walnut are popular for signs and pieces that will be oiled rather than painted, but they are harder to carve. Use a board 3/4 to 1 inch thick for most projects; a 6 x 8 inch or 8 x 10 inch panel is a comfortable size for a first leaf or fish, large enough to hold steady and small enough to finish in a few sessions.
Low relief usually means a carved depth of about 1/8 to 1/2 inch, and that is enough for most patterns. For a 3/4 inch board, a background depth of about 1/4 to 3/8 inch leaves a sturdy panel behind the carving. High relief, with deep undercuts and elements that stand well proud of the background, needs thicker wood and more experience. Decide the depth before you start and mark it on the edge of the board, so the background ends up level.
How to size and transfer a relief pattern
Scale the pattern to the board on a copier or printer, leaving a margin of at least 1/2 inch around the design so the background has a frame. Check that the narrowest parts of the design are at least as wide as the gouges you will use on them.
To transfer, tape the printout to the board along one edge, slide graphite transfer paper underneath and trace the lines with a ballpoint pen. Graphite paper erases from basswood more easily than carbon paper. Another method is to rub soft pencil on the back of the printout and trace over the front. Shade the background areas with pencil hatching after transfer so you do not cut into an element by mistake. Keep the original printout beside you: the lines on the wood will be carved away and you will need to redraw them.
Carving order for any relief pattern
1. Outline: cut along the outline with a V-tool on the background side of the line, or make vertical stop cuts with a straight chisel and gouges whose sweep matches each curve. 2. Ground out: lower the background to the depth mark with a shallow gouge such as a #3 or #5, working toward the outline cuts. Repeat stop cut and ground out until the background reaches full depth. A router plane levels a large background quickly.
3. Set in the layers: decide the height of each element, mark it on the drawing, and lower the parts that sit behind others. 4. Model: round over the edges of leaves, petals and bodies so they look three-dimensional rather than cut from a sheet. 5. Detail: veins, feathers, scales and lettering with a V-tool or small gouges. 6. Clean up: tidy the background with a flat gouge and, if you like, texture it with a punch or small gouge cuts to hide tool marks.
Hold the board firmly so both hands stay on the tool: a bench hook, clamps or a vise. Full-size gouges with a mallet speed up grounding in harder woods; palm tools are enough for basswood.
Tools a first relief pattern needs
A V-tool, a shallow gouge (#3), a medium gouge (#5 or #7) and a small deep gouge (#9 or #11) handle most relief patterns, with a knife for cleaning corners. A small palm tool set covers this for basswood. For larger signs and harder woods, full-size gouges and a light round mallet of around 12 to 16 oz are faster and less tiring.
A way to hold the work matters as much as the gouges: a relief panel slides and spins without clamps. A bench vise with wooden jaws, a carving vise or a simple frame of battens screwed to the bench all work. Keep a strop at hand, because grounding out dulls edges quickly and a dull gouge tears the background.
Frequently asked questions
Where can I find relief carving patterns? Carving books and magazines publish patterns sized for relief, and many free line drawings, coloring pages and stencil designs can be adapted. Pick drawings with clear outlines and few overlaps for a first project, and scale them to your board.
What is the best wood for relief carving? Basswood for a first carving: it is soft, even and holds detail. Butternut, black walnut and mahogany are popular for signs and pieces finished with oil, but they need sharper tools and more effort.
How deep should a relief carving be? Most low relief carvings are 1/8 to 1/2 inch deep. On a 3/4 inch board, a background depth of about 1/4 to 3/8 inch is enough and leaves the panel strong.
Do I need a mallet for relief carving? Not for basswood with palm tools or hand-pushed gouges. A mallet helps with full-size gouges, harder woods and large backgrounds, and gives more control than pushing hard by hand.
What you need for this
- See price on AmazonAmazon
Flexcut FR405 deluxe palm gouge set, 9 tools
From Best Wood Carving Gouge Sets: Palm Tools for Hand Carving
- See price on AmazonAmazon
Narex 825701 Beech Carving Mallet, 9 oz
From Best Wood Carving Mallets: Round Beech, Maple and Urethane by Weight
- See price on AmazonAmazon
Woodriver Carving Vise
From Best Wood Carving Vises: Faceplate Carving Vises, Patternmaker's and Ball Joint
- See price on AmazonAmazon
BeaverCraft BW19 Basswood Carving Blocks
From Best Basswood Carving Blocks: Sizes, Pack Counts and Price per Block