How-to
How to Dry Wood for Carving and How Long It Takes
Published
As an Amazon Associate we earn from qualifying purchases. This does not change our picks. Affiliate disclosure
New to Prime? Try Prime free for fast, free shipping on eligible items.
Short answer
Wood does not always need to be dry: spoon carvers work green wood and dry the carved spoon in about 2 to 3 days. For blocks you will whittle or chip carve dry, seal the end grain right away and air dry the wood under cover, out of sun and rain. The traditional rule of thumb is one year per inch of thickness for hardwood.
Gear for this job
All 7 picks comparedBeaverCraft BW19 Basswood Carving Blocks
See price on AmazonSee it on AmazonJyongmer Basswood Carving Blocks, 30 Pcs
See price on AmazonSee it on AmazonMANCHAP basswood blocks 6 x 2 x 2 in, 10 pack
See price on AmazonSee it on Amazon
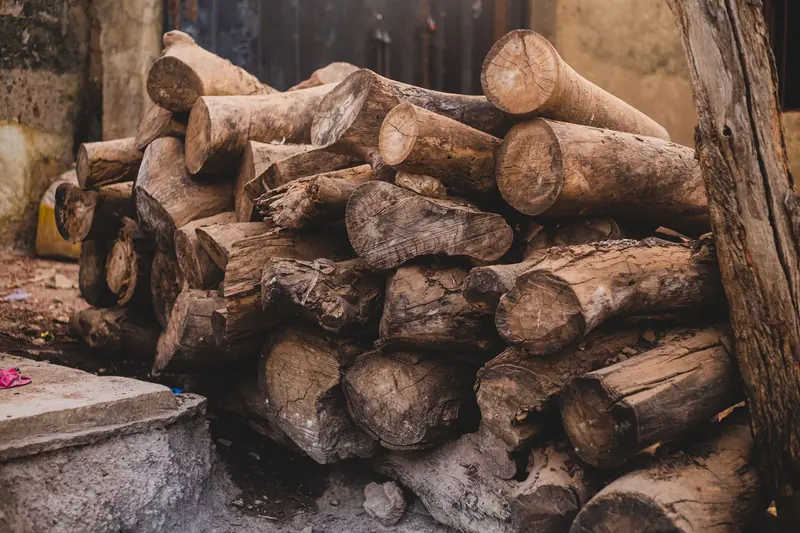
This page is for someone with a log, a branch or a pile of offcuts who wants a number before starting. The number depends on two things: how thick the piece is, and whether it has to be dry before the knife touches it at all. Thin wood dries in days and thick wood in years, so the fastest way to dry carving wood is often to carve it first. The steps below cover both routes: drying a blank for later, and drying a piece already roughed out. Figures come from a university extension guide, a moisture meter maker and two spoon carvers, each named where it is used.
Do you need to dry wood before carving?
Not always. Green wood cuts far more easily than dry wood, so some styles start wet on purpose. Others need a dry, stable board. The table shows which route fits what you are making.
| What you are making | Carve it | Drying |
|---|---|---|
| Spoon | Green | Carve first, dry the spoon about 2 to 3 days, then make the final cuts |
| Simple whittled shape from a branch | Green or dry | If carved green, dry the finished piece slowly |
| Whittled figure with fine detail | Dry | Dry the block first, or buy carving blocks, which are normally sold dry |
| Chip carving board | Dry | Needs a flat, dry board before layout |
| Relief panel | Dry | Dry to the moisture of the room where it will hang |
How long to dry wood for carving, by thickness
Thickness decides the time. The traditional woodworkers' rule, quoted by Wagner Meters, is one year per inch of thickness for hardwood. It is a rule of thumb, not a schedule: Wagner notes that some species dry faster, and the Oregon State University Extension guide says air drying lumber can take from several months to almost a year depending on conditions.
The rule also runs short for thick pieces. The extension guide states that 2 inch lumber can take 3 to 4 times as long as 1 inch lumber of the same species to reach the same moisture content. So treat the figures below as ranges, and check the wood instead of the calendar.
| Piece | Thickness | Time to air dry |
|---|---|---|
| Carved spoon | thin walls | About 2 to 3 days. Sources range from a couple of days to two weeks |
| Board or split blank | 1 inch | Several months to about 1 year |
| Thick blank | 2 inches | 2 years by the rule. 3 to 4 times the 1 inch time by the extension guide |
| Block or half log | 3 inches and over | 3 years or more by the rule. Expect longer |
How to air dry a log or branch for carving
This is the slow route, for wood you want to carve dry later. Cracks come from wood drying too fast, mostly from the end grain, so every step is about slowing the ends down and letting air reach the sides.
- 1
Seal the end grain the day the wood is cut. Brush end sealer or latex paint over both cut ends. The extension guide says to coat as soon as possible, because coatings work less well once drying has started.
- 2
Split or saw the log through the center and remove the pith, the soft core. Anne of All Trades notes that a spoon left with the pith in it is much more prone to warping and cracking as it dries.
- 3
Cut the wood close to the thickness you will carve. A 1 inch piece dries far faster than a 2 inch piece, which takes 3 to 4 times as long.
- 4
Stack the pieces off the ground with 1 inch spacer sticks (stickers) between layers, no more than 24 inches apart, so air moves over every face.
- 5
Cover the top of the stack and keep it out of direct sun and rain. A roof that overhangs the pile by 2 to 3 inches on all sides is the extension guide's figure. Leave the sides open to the air.
- 6
Wait. Allow about one year per inch of thickness for hardwood, then check the wood. Outdoors under cover it stops drying at about 12 to 14% moisture.
- 7
Bring the wood indoors to finish. Wood for indoor work is usually dried to 6 to 8% moisture. Keep it in the room where you carve until it stops losing weight.
Note.Do not speed things up with a heater, an oven or a sunny window. Fast drying of the surface and the ends is the standard cause of cracks.
Spoon carving drying: the paper bag method
The fast route is to carve first. Rough out the piece while the wood is green, leaving a little extra wood everywhere and keeping the thickness even. Thin wood dries in days, and a piece of even thickness has less of the uneven shrinkage that cracks a thick block.
Put the roughed-out piece in a paper bag with a handful of its own shavings. The bag and shavings slow the drying. Keep it away from heat and sun. A thin carved spoon is dry in about 2 to 3 days, the figure Anne of All Trades gives. Spoon carver David Fisher says a spoon can be ready for finish carving in a day or two and is certainly ready within a week. Then make the final cuts in the dry wood: see how to carve a spoon.
Not ready to dry it yet? Keep the green blank in a sealed plastic bag or the freezer between sessions so it stays wet until you carve it.
How to tell the wood is dry
A moisture meter gives a reading in percent. Compare it with the targets: about 12 to 14% is as far as outdoor air drying goes in a damp climate (the guide gives 8 to 10% for a dry one), and 6 to 8% is the usual range for indoor work. The extension guide notes that hand-held meters are less accurate than its sample board method, which tracks moisture by weight.
The home version of that method needs only a kitchen scale. Weigh the piece, write the weight and date on it, and weigh it again at regular intervals, for example weekly. While the weight keeps falling, the wood is still losing water. When it holds steady, the wood has stopped drying in that spot. For a spoon, David Fisher's check is simpler: it should feel dry and warm to the touch.
Why wood cracks as it dries
Wood shrinks as it dries. The extension guide explains that moisture moves much faster along the grain than across it, so the ends dry and shrink before the middle and split. Those are end checks. Surfaces that dry too quickly crack the same way. A piece with thick and thin parts dries unevenly and cracks where they meet.
The three defenses are the ones in the steps: seal the ends, keep the wood out of sun and heat, and keep the thickness even. Short end checks on a blank can be sawn off before carving. For a crack in a finished piece, see how to fix cracks in a wood carving.
Skip the wait: wood that is already dry
If the project needs dry wood and you do not want to wait a year, buy it dry. Carving blocks and chip carving boards are normally sold dry, though listings do not always state a moisture level: see our basswood carving blocks guide. To check whether a species is normally carved dry or green, look it up in the wood for carving chart. Save the log for spoons and other green wood projects, where no drying comes first.
Quick answers
Short answers to the searches behind this page. Times are rules of thumb from the sources listed below, so check the wood itself.
- How long should wood dry before carving? About one year per inch of thickness for hardwood blanks. A thin carved spoon needs about 2 to 3 days.
- Should wood be dry before carving? For chip carving, relief and detailed whittling, yes. For spoons, no: carve green, then dry the spoon.
- How to cure wood for carving? Seal the ends, remove the pith, stack under cover with spacers, then finish indoors to 6 to 8% moisture.
- How to season wood for carving? Seasoning is air drying. Outdoors under cover it stops at about 12 to 14% moisture. The last drop happens indoors.
- Should you let wood dry before carving? Only if the style needs dry wood. Green wood cuts far more easily, and thin carved pieces dry in days.
What you need for this
- See price on AmazonAmazon
BeaverCraft BW19 Basswood Carving Blocks
From Best Basswood Carving Blocks: Sizes, Pack Counts and Price per Block
- See price on AmazonAmazon
ABuff spoon blanks, walnut and basswood, 12 pieces
From Best Spoon Carving Blanks: Pre-Cut Blanks by Wood and Size
- See price on AmazonAmazon
BeaverCraft DIY04 spoon carving kit with blank
From Best Spoon Carving Kits: What Is in the Box and What Is Missing