Fix
How to Fix Cracks in a Wood Carving and Stop New Ones
Published
As an Amazon Associate we earn from qualifying purchases. This does not change our picks. Affiliate disclosure
New to Prime? Try Prime free for fast, free shipping on eligible items.
Short answer
Let the wood finish drying first, then match the repair to the crack. A crack that closes under finger pressure, or a clean break, is fixed with wood glue and a clamp: 30 to 60 minutes clamped and 24 hours before any stress. A gap that stays open is filled with a glued sliver of the same wood or with glue mixed with fine sawdust. A wide gap takes two-part epoxy.
Gear for this job
All 7 picks comparedBeaverCraft BW19 Basswood Carving Blocks
See price on AmazonSee it on AmazonJyongmer Basswood Carving Blocks, 30 Pcs
See price on AmazonSee it on AmazonMANCHAP basswood blocks 6 x 2 x 2 in, 10 pack
See price on AmazonSee it on Amazon
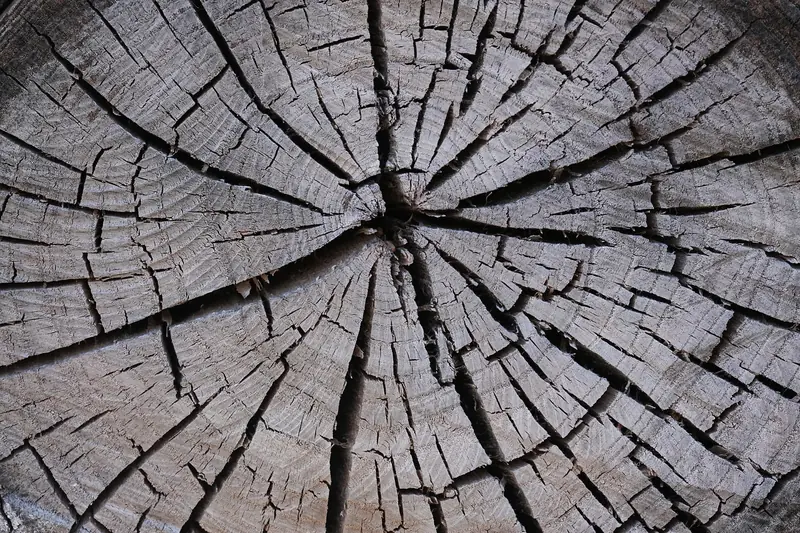
This page is for a carving that has already cracked: a spoon that split while drying, a figure with a check running in from the end, or a piece with an arm or a handle snapped off. Two things decide the repair. The first is whether the wood has finished drying, because a crack in wet wood is still moving. The second is whether the crack closes when you squeeze it. A crack that closes is glued. A crack that stays open has to be filled with wood, a sawdust paste or epoxy. Paint hides almost any repair. Oil and wax show it.
Which crack do you have, and what fixes it
Press the crack shut with your fingers before you read the table. If it closes, glue and a clamp will hold it. If it stays open, something has to go into the gap. Rows run from the most common case down.
| What you see | Likely cause | What to do |
|---|---|---|
| Hairline crack running in from the end grain | Dried too fast, end grain left unsealed | Let it finish drying, work wood glue in, clamp 30 to 60 minutes |
| Split that opened while a green spoon or figure dried | Green wood lost water too fast, or the pith was left in | Wait until it stops widening, then glue in a sliver of the same wood |
| Thin part snapped off with a clean break | Short grain across a thin section, a drop, or prying with the knife | Glue both faces, hold with tape or a clamp, leave 24 hours |
| Narrow gap that will not close under finger pressure | The wood shrank and set in that shape | Pack it with wood glue mixed with fine sawdust of the same wood |
| Wide or deep gap, or wood missing | A large drying check in thick stock, or uneven thickness | Fill with two-part epoxy, overfill slightly, sand flush once hard |
| Crack that keeps getting longer or wider | The wood is still drying | Do not fill it yet. Slow the drying and repair when it stops moving |
Wait until the crack stops moving before you fill it
A crack in wood that is still drying is not finished. The surface and the end grain dry and shrink before the core does, so the gap can keep opening for days. Filler packed into a moving crack gets squeezed out or pulled loose. A thin carved spoon dries in about 2 to 3 days, though sources range from a couple of days to two weeks. A thick block takes far longer: see how long wood takes to dry.
To check, mark both ends of the crack with a pencil and keep the piece indoors, away from heat and sun. When the crack has stayed inside the marks through that drying time, repair it.
How to fix a hairline crack or a clean break with wood glue
Ordinary wood glue is the right repair when the two sides meet with no gap. One glue maker's FAQ gives a clamp time of 30 minutes to an hour for an unstressed joint and says not to stress the joint for at least 24 hours. Another maker lists 20 to 30 minutes in clamps and states that its wood glue does not fill gaps.
- 1
Dry-fit first. Press the crack shut, or seat the broken part, and check that it closes with no gap. Pick out loose fibers that hold it open.
- 2
Work a small amount of wood glue into the crack with a toothpick. On a break, spread a thin layer on both faces.
- 3
Close it with a small clamp, a rubber band or a wrap of tape, with only enough pressure to bring the sides together. Leave it clamped for 30 to 60 minutes.
- 4
Wipe wet squeeze-out with a clean damp cloth right away. Dried glue has to be scraped or sanded off, and one maker lists its wood glue as paintable but not stainable.
- 5
Leave the piece for 24 hours before you carve near the repair, sand it or put any load on the part.
Note.Super glue sets in 10 to 45 seconds by one maker's figure and dries clear, but the same maker lists it as not gap-filling and not paintable. Keep it for tight hairline cracks on pieces you will not paint.
How to fill a crack that will not close
A gap that stays open needs wood put back into it. The cleanest repair is a sliver. Whittle a thin wedge from an offcut of the same wood, with its grain running the same way as the carving. Coat it with wood glue, press it in until it is snug and leave it standing proud. After 24 hours, pare it flush with a sharp knife.
For a narrow or crooked gap, mix wood glue with fine sawdust from the same wood. One sculpture guide uses 1 part glue to 2 parts sawdust for a stiff paste, forced into the crack so that no air pockets remain. Let it dry fully and refill if it shrinks. Expect the patch to look darker than the wood around it. On a piece you plan to paint, that does not matter.
Glue, sawdust paste, epoxy or filler: times and limits
Use epoxy when the gap is wide, deep or missing wood. A common five-minute type is dispensed as equal parts resin and hardener, mixed for about 20 seconds and applied within 5 minutes. Its maker says to leave the repair undisturbed for 30 minutes and lists it as gap-filling, clear when dry, sandable and paintable.
None of these figures says anything about food contact, and this page makes no claim about glue or epoxy in a spoon you eat with. Read the maker's label, and see finishes for carved spoons for what goes on the surface. On a figure, finish over the repair as usual with oil, wax or paint.
| Repair material | Published time | Fills a gap | Takes paint |
|---|---|---|---|
| Wood glue (PVA) | Clamp 20 to 60 minutes, no stress for 24 hours | No | Yes. One maker says not stainable |
| Super glue (cyanoacrylate) | Sets in 10 to 45 seconds | No | No, by one maker's listing |
| Wood glue and sawdust paste | Dries with the glue. Refill if it shrinks | Narrow gaps | Yes, but it dries darker |
| Five-minute two-part epoxy | Apply within 5 minutes, leave 30 minutes | Yes | Yes, and it sands |
| Epoxy wood filler | Sand after 20 to 30 minutes (one maker) | Yes | Yes, and it takes stain |
Why did the carving crack?
Cracks come from drying too fast. Water leaves wood much faster through the end grain than through the sides, so the ends shrink first and split. The surface also dries before the core, and when the stress is more than the wood can take, a check opens. An Oregon State University Extension guide on air drying lumber names both causes.
Three things make it worse in a carving: unsealed end grain on a log or blank, uneven thickness where a thin bowl dries well before a thick handle, and the pith, the center of the branch, where the wood is most prone to warp and crack. Soaking a dry block to soften it has the same effect once the water leaves again: see soaking wood before carving.
How to stop new cracks next time
Slow the drying and keep it even. Most of this happens before and between carving sessions, not after the crack has shown up.
- Coat log and branch ends with end sealer or latex paint right away. End coatings work less well once the wood has started to dry.
- Between sessions, keep green blanks in a sealed plastic bag or in the freezer.
- Split out the pith, and carve the bowl, walls and handle to an even thickness before the piece dries.
- Dry a finished green spoon in a paper bag with a handful of shavings, away from heat and sun. Allow about 2 to 3 days if it is thin.
- Not ready to manage drying? Start from dry basswood blocks. Dry stock has already done most of its shrinking.
Quick answers
Short answers to the repair questions carvers search for most. Times are maker figures for common wood glue and five-minute epoxy.
- How to repair a broken wood carving? Glue the broken part back with wood glue, hold it with tape or a clamp for 30 to 60 minutes and leave it 24 hours before handling.
- How to fix cracks in wood carvings? Let the wood finish drying. Then glue and clamp a crack that closes, or fill one that stays open with a sliver of the same wood or a glue and sawdust paste.
- How to fix a broken wood sculpture? A clean break is glued like any carving. Where wood is missing, fill the gap with two-part epoxy, overfill slightly and sand it flush once hard.
What you need for this
- See price on AmazonAmazon
BeaverCraft BW19 Basswood Carving Blocks
From Best Basswood Carving Blocks: Sizes, Pack Counts and Price per Block
- See price on AmazonAmazon
ABuff spoon blanks, walnut and basswood, 12 pieces
From Best Spoon Carving Blanks: Pre-Cut Blanks by Wood and Size