How-to
How to Finish a Wood Carving: Oil, Wax, Sealer or Paint
Published Updated
As an Amazon Associate we earn from qualifying purchases. This does not change our picks. Affiliate disclosure
New to Prime? Try Prime free for fast, free shipping on eligible items.
Short answer
Clean or sand the carving, then pick one route. For bare wood, wipe on Danish oil or boiled linseed oil, wipe off the excess and buff with paste wax once it is dry. For color, seal the wood, brush on acrylic paint thinned to a wash (one carving reference starts at 1 part paint to 7 parts water), then seal again with oil or wax. Paste wax needs 10 to 15 minutes before buffing.
Gear for this job
All 7 picks comparedBeaverCraft BW19 Basswood Carving Blocks
See price on AmazonSee it on AmazonJyongmer Basswood Carving Blocks, 30 Pcs
See price on AmazonSee it on AmazonMANCHAP basswood blocks 6 x 2 x 2 in, 10 pack
See price on AmazonSee it on Amazon
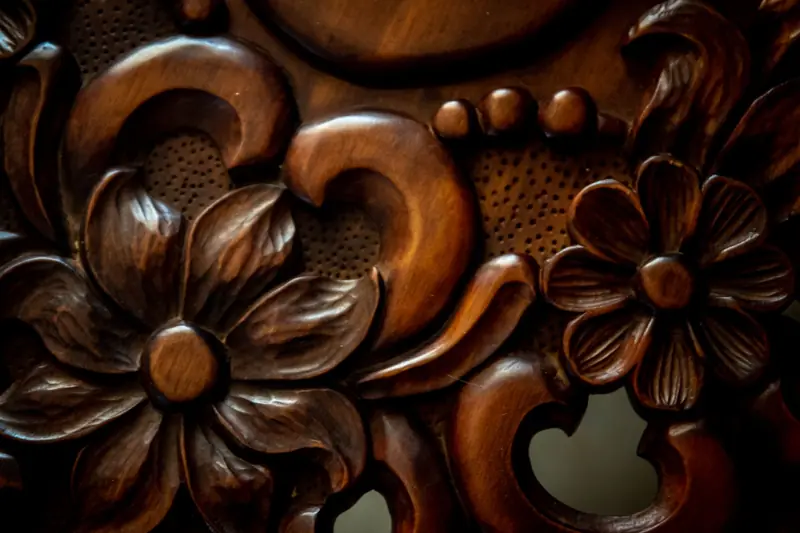
This page is for a finished figure, relief or ornament, most often in basswood. Basswood is pale and soft, 410 lbf on the wood for carving chart, so the finish decides whether the piece reads as bare wood or as color. What to choose depends on whether the grain should show, how much the piece will be handled and how long you can wait for it to dry. A spoon or anything else that touches food is a separate question: see finishes for carved spoons.
Oil, wax, sealer or paint: which finish to use
Each row gives the look, the drying time that a maker or a named reference publishes, and the kind of carving the finish suits. The times assume room temperature. Cold or damp air slows every one of them.
| Finish | Look | Published drying time | Use it when |
|---|---|---|---|
| Danish oil (oil and varnish blend) | Rich hand-rubbed look, hardens in the wood | Ready for use in 8 to 10 hours. 72 hours before a topcoat | Unpainted figures and relief you want done in a day |
| Boiled linseed oil | Close to the wood, deepens color and grain | A few days. About 24 hours between coats | Bare wood, or as the sealer under and over paint |
| Pure tung oil | Warm matte sheen, honey color | Light use after 7 to 10 days, full cure 15 to 30 days | You can wait weeks for a pure oil finish |
| Paste wax | Soft hand-rubbed luster | 10 to 15 minutes, then buff. Two coats | Last layer over oil or paint, or alone on a shelf piece |
| Water-based clear finish | Crystal clear, non-yellowing, flat to gloss | Recoat after 2 hours. 24 hours before normal use | Painted pieces that get handled, or to keep basswood pale |
| Thinned acrylic paint | Matte color. A thin wash lets the grain show | Dry to the touch in 20 to 30 minutes, cured in 5 to 7 days | Figures, caricatures and ornaments in basswood |
Prepare the surface before any finish
Finish shows every flaw under it. A knife-finished carving needs no sandpaper: make the last cuts with a freshly stropped edge so the facets are clean. If the knife leaves fuzz or tear-out, strop it before the final pass. Hand oils and dirt show through thin paint, so one carving reference scrubs the piece with tap water, an all-purpose cleaner and a small nylon brush, then lets it dry.
If you prefer a sanded surface, Woodcarving Illustrated advises sanding to at least 220 grit, then clearing the dust with a soft brush or short bursts of canned air. It warns against tack cloths, which leave a residue that interferes with finishes. Wear a dust mask when sanding. Repair any cracks first, because glue and filler take finish differently from wood: see fixing cracks in a carving.
How to paint a wood carving: seal, thin the paint, wax
This is the common route for a basswood figure. The sealer goes on first, the paint goes on as a thin wash so knife cuts and grain stay visible, and a last coat of oil or wax protects the color. Test every step on a scrap of the same wood before you touch the carving.
- 1
Clean the carving with water, an all-purpose cleaner and a small nylon brush, or sand it to 220 grit and brush off the dust. Let it dry completely.
- 2
Seal the wood. One carving reference brushes on a liberal coat of boiled linseed oil thinned 50/50 with mineral spirits, waits several minutes, wipes off the excess and lets it dry overnight.
- 3
Or seal with a water-based product. Woodcarving Illustrated mixes 1 part clear glaze medium with 1 part flow medium. If the dry surface feels rough, sand it lightly with 220 grit.
- 4
Thin the acrylic paint. Start at 1 part paint to 7 parts water and adjust on scrap. The wash is right when the wood grain still shows through it.
- 5
Paint the light colors first and let darker colors cover their edges. Build depth with a second thin wash, not one thick coat. Acrylic is dry to the touch in 20 to 30 minutes by one paint maker's figure.
- 6
Seal the paint. Brush on boiled linseed oil, leave it for 10 minutes and wipe it off with a paper towel. Or skip the oil and go straight to paste wax.
- 7
Wax last. Apply a thin, even coat of paste wax with a clean cloth, let it dry 10 to 15 minutes and polish with a clean cloth. The maker recommends 2 coats.
Note.Rags and paper towels wet with linseed, tung or Danish oil can self-heat. Lay them flat to dry on a non-flammable surface before you throw them out.
Wood carving oil: how to oil an unpainted carving
Oil is the simplest finish for whittling. Danish oil is a blend of penetrating oil and varnish. Its data sheet says to flood the surface, let it soak for 30 minutes, wipe off the excess, reapply for another 15 minutes and wipe the surface completely dry. The piece is ready for use in 8 to 10 hours. Boiled linseed oil is slower: one guide lets each coat soak for about five minutes, wipes off the excess and waits about 24 hours between coats.
Pure tung oil and raw linseed oil are slower still. A tung oil maker thins the first coat 1:1 with solvent, applies 2 to 4 coats on decorative items, and gives 7 to 10 days before light use and 15 to 30 days for a full cure. Raw linseed oil cures in weeks, or months in cold weather. Mineral oil never hardens, so it has to be reapplied when the wood looks dry. Tung oil dries to a warm honey color, so expect pale basswood to darken.
How to seal a wood carving with a clear coat
A clear film finish protects more than oil or wax. Paste wax is described by its maker as a polish for surfaces that do not need a hard protective coat, which fits a shelf figure but not a piece handled every day. For that, use a water-based clear finish. One widely sold product looks milky in the can, dries crystal clear and is listed as non-yellowing, in sheens from ultra flat to gloss.
Its maker recommends 3 coats, a recoat after 2 hours, a light sanding with 220 grit between coats, light handling after 3 hours and 24 hours before normal use. Keep the coats thin on a carving, since a heavy coat pools in deep cuts and softens crisp edges. If the piece was oiled with Danish oil first, the oil's data sheet asks for 72 hours of drying before any topcoat.
How to tell the finish is done
Dry to the touch is not the same as cured. Each finish has its own sign that the coat is complete and its own wait before the carving can be handled or put on a shelf.
| Finish | It is done when | Wait before handling |
|---|---|---|
| Danish oil | Second application wiped completely dry, no wet spots | 8 to 10 hours |
| Boiled linseed oil | Excess wiped off, no oily film left on the surface | About 24 hours per coat, a few days in all |
| Pure tung oil | About 80% of the surface stays glossy 40 minutes after a coat | 7 to 10 days for light use |
| Acrylic paint | Color is even and the grain still shows through a wash | 20 to 30 minutes to touch, 5 to 7 days to cure |
| Paste wax | Polishes to an even luster with no smears | 10 to 15 minutes before buffing |
| Water-based clear finish | Third coat is on and has dried clear | 3 hours for light handling, 24 hours for normal use |
Finishes for carvings that touch food
Spoons, scoops and small bowls need a finish the maker states is meant for food contact, which rules out many general-purpose stains and varnishes. Mineral oil, oil and wax butters, pure tung oil and some bowl topcoats are the usual choices, each with a different upkeep routine. The guide below compares seven of them by type and size, and the label on the bottle is the final word on food contact and cure time.
Quick answers
Short answers to the finishing questions carvers search for. Drying times are the published figures quoted above, at room temperature.
- How to seal a wood carving? Brush on boiled linseed oil thinned 50/50 with mineral spirits, wipe off the excess and let it dry overnight. For a harder coat, use 3 thin coats of water-based clear finish.
- How to paint a wood carving? Seal the wood, then brush on acrylic paint thinned to a wash, starting at 1 part paint to 7 parts water. Light colors go on first. Finish with oil or paste wax.
- Which wood carving oil or whittling oil to use? Danish oil is the quickest, ready in 8 to 10 hours. Boiled linseed oil takes a few days, and pure tung oil takes 15 to 30 days to cure fully.
- What whittling paint should I use? Water-based acrylic craft paint. It thins with water, dries matte and is dry to the touch in 20 to 30 minutes.
What you need for this
- See price on AmazonAmazon
BeaverCraft BW19 Basswood Carving Blocks
From Best Basswood Carving Blocks: Sizes, Pack Counts and Price per Block
- See price on AmazonAmazon
Bluvizo deluxe kit: 4 knives, 4 chisels, 7 blocks
From Best Whittling Kits for Beginners: Knife, Wood and Strop in One Box
- See price on AmazonAmazon
Flexcut KN13 detail knife, 1.5 in blade
From Best Whittling Knife for Beginners: Fixed-Blade Carvers Compared
- See price on AmazonAmazon
Thirteen Chefs Mineral Oil
From Best Food-Safe Wood Finishes for Carved Spoons and Bowls