How-to
How to Chip Carve: Knife Grip, the Three-Cut Triangle and First Borders
Published
As an Amazon Associate we earn from qualifying purchases. This does not change our picks. Affiliate disclosure
New to Prime? Try Prime free for fast, free shipping on eligible items.
Short answer
Hold the chip carving knife so the blade leans at about 65 degrees to the board, with the thumb and the index knuckle resting on the wood. Make three cuts along the sides of a small triangle, turning the board between cuts, so all three meet at one point under the center. The chip then pops out by itself. If it does not, recut a little deeper and never pry.
Gear for this job
All 6 picks comparedFlexcut KN15 chip carving knife, 1 in blade
See price on AmazonSee it on AmazonFlexcut KN115 chip carving set, 3 knives
See price on AmazonSee it on AmazonBeaverCraft C6 chip carving knife, 1 in
See price on AmazonSee it on Amazon
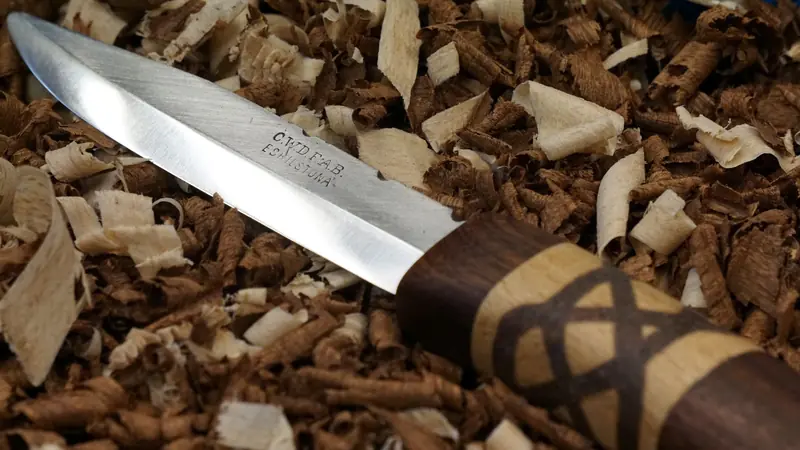
Chip carving removes small triangular chips from a flat board with one knife. This page covers the first session: a basswood board, a 4 mm grid and a knife that is already sharp. Three things decide whether a chip comes out clean. The blade keeps one angle through all three cuts, the cuts meet at a single point, and the edge is keen enough to slice the wood instead of crushing it. The grips and the cut order follow Wayne Barton's two positions and Murray Taylor's beginner course at Woodworkers Institute. Where teachers differ, both figures are given.
How to start chip carving: what you need
The kit is short. One knife does almost all the work, and the rest is for drawing the pattern and keeping the edge. Utility and craft knives are a poor substitute: Lora Irish's supply list rules them out for their thin, low-quality steel.
- A chip carving knife, also called the cutting knife. A stab knife is optional: it presses decorative marks and removes no chips. See the chip carving knife guide.
- A basswood board about 3/8 inch thick, smooth and clean. Other species are compared in wood for chip carving.
- A hard pencil, a ruler and a small T-square to rule a 4 mm grid.
- A strop with polishing compound. The cutting knife is sharpened at about 10 degrees to the stone. Figures for each tool are in the sharpening angle chart.
How to hold a chip carving knife: the two grips
Wayne Barton teaches two positions, and in both the blade leans at about 65 degrees to the board. In the first the blade leans away from you. In the second it tilts toward you. Hand and knife move as one unit: the knife is not drawn toward the thumb by flexing the fingers. Murray Taylor gives the same rule from the safety side: the thumb of the knife hand always rests on the wood, which guards against a slip.
| Grip | Where the hand rests | Used for |
|---|---|---|
| Position 1 | Thumb joint at the blade end of the handle. Thumb tip, index knuckle and blade point rest on the wood | First and third cuts of a three-cornered chip, and most other cuts |
| Position 2 | Knife tilted toward you, thumb along the back of the blade, index knuckle on the wood | Second cut of a three-cornered chip |
| Stab knife | Held like an ice pick, upright, long point away from you, pressed in and rocked toward you | Decorative marks, not chips |
What angle to hold the knife: 45 to 65 degrees
Published angles for the standard three-sided chip run from 45 to 65 degrees between blade and board. Lora Irish states the principle: a low angle makes a shallow chip and a steep angle a deep one. Pick one figure and hold it for all three cuts. The knuckle resting on the wood is what keeps it constant from cut to cut.
| Source | Angle | What it gives |
|---|---|---|
| Wayne Barton, Murray Taylor (Woodworkers Institute), Woodcraft | about 65 degrees | A deeper chip with steep walls |
| Lora Irish, BeaverCraft | about 45 degrees | A shallower chip |
| Straight-wall chips (Lora Irish, BeaverCraft) | 85 to 90 degrees | A vertical wall. A different chip, for later |
How to do the three-cut triangle, step by step
A three-sided chip is an upside-down pyramid. Each cut makes one of its walls, and the walls meet at a point below the center of the triangle. Murray Taylor's course sets the work on a carving board or a modified bench hook, so the board can be turned between cuts.
- 1
Rule a 4 mm grid on the basswood with a hard pencil and draw a row of triangles, each one square wide. The practice patterns page describes six layouts.
- 2
Take grip position 1. Set the point of the blade on one corner of a triangle with the blade leaning at about 65 degrees, so the point aims under the center of the chip.
- 3
First cut: push the point down toward that imagined center, draw the blade along the first side to the next corner, then lift it out. One stroke, no sawing.
- 4
Turn the board, not your wrist, until the second side lines up with the blade. Make the second cut at the same 65 degree lean and to the same depth, in position 2 if you follow Barton.
- 5
Turn the board again and cut the third side, back in position 1. When this cut reaches the bottom of the other two, the chip comes free without being touched.
- 6
If the chip stays, repeat the same three cuts a little deeper at the same angle. Never pry it out: prying damages the walls of the chip and can break the tip of the knife.
- 7
Carve the whole row before judging it. Strop the knife when it starts to drag, pulling the blade away from its edge.
How to tell a chip is cut right
Look at the chip and at the hole it left. Both tell you whether the three cuts met, and the check takes a few seconds per row.
- The chip came out whole, in one piece, on the third cut.
- The three walls are smooth and flat, with no step where a cut was repeated at a different angle.
- The walls meet at a single point at the bottom, below the center of the triangle. No pillar or loose fibers are left there.
- The top edges follow the pencil lines and the ridges between chips are unbroken.
Why chips do not pop out, and what to do
A stuck chip has a short list of causes. Work down the table before blaming the pattern. If every cut is a struggle on a board that is not basswood, check its hardness in the wood for carving chart: basswood is 410 lbf, and woods above about 1,050 lbf are a no for chip carving.
| What you see | Likely cause | What to do |
|---|---|---|
| Chip hangs on at the bottom | The three cuts do not meet | Recut the same lines a little deeper, at the same angle |
| A step or ledge on one wall | The knife angle changed between cuts | Keep the knuckle on the wood and turn the board, not the wrist |
| Crushed or fuzzy walls | Dull edge | Strop. A chipped or rounded edge goes back to the stone first |
| Wood splits past the line | A side running along the grain was forced | Use less pressure on sides that run with the grain |
| Chip is too hard to free | Grid too large: a 5 mm chip has twice the volume of a 4 mm one | Go back to the 4 mm grid |
First borders: chips that share an edge
A border is a row of chips with thin ridges between them, and the ridges are what break. Lora Irish's advice for chips that share a side is to start with the innermost chip and work outward. Cut the shared side first, from the inside point toward the outside point, and leave the free side for last, so the final cut releases the chip without snapping the point trapped between two chips.
Start with a single row of triangles, then two rows with points facing, then a zigzag. Square chips come next: four angled cuts instead of three, each one aimed at the center.
Quick answers
Short answers to the searches behind this page. Angles and grips are the ones published by the teachers named above, not our own measurements.
- How do you hold a chip carving knife? Thumb tip, index knuckle and blade point all rest on the wood, with the blade leaning at about 65 degrees. Hand and knife move as one unit.
- How do you use a chip carving knife for a triangle? Three cuts, one along each side, turning the board between cuts. All three meet at one point under the center.
- What are the main chip carving techniques? The three-sided chip, the four-cut square chip, the straight-wall chip cut at 85 to 90 degrees, and decorative marks pressed in with a stab knife.
- What is chip carving for beginners best done on? A basswood board about 3/8 inch thick with a 4 mm grid ruled in hard pencil.
What you need for this
- See price on AmazonAmazon
Flexcut KN15 chip carving knife, 1 in blade
From Best Chip Carving Knives: Cutting Knife, Stab Knife and Starter Sets
- See price on AmazonAmazon
BeaverCraft BW19 Basswood Carving Blocks
From Best Basswood Carving Blocks: Sizes, Pack Counts and Price per Block
- See price on AmazonAmazon
Bacher leather strop 12.6 in, 4 compounds and balm